


You must have heard about "tailwindcss" but you might not know what it does or how to use it... in this article, I would share what tailwindcss is all about, why it's been used, and maybe if its a component library you would probably use.
What is Tailwindcss? 
Tailwind CSS is self-described as a utility first CSS framework. Rather than focusing on the functionality of the item being styled, Tailwind is centered around how it should be displayed.
Your Friendly Search Engine Google
In simpler terms what Google is trying to say
Tailwind CSS is a utility-based first-class framework that uses classes like flex, text-center, pt- 4, and many more to build any design without leaving your HTML code.
You read that correctly, yes you can style and build design within your HTML code without CSS. There is a saying that all Software Engineers want a tool that can perform the 80/20 rule, which is 80% output with 20% of work. Hence tailwind testing the reality of the rule... Note that tailwind isn't going to take over other big frameworks like Bootstrap and other CSS frameworks. In fact, tailwind is much lower-level than Bootstrap as it makes use of utility classes, whereas bootstrap has ready-built components like cards, navigations e.t.c. Creating cards in tailwind would probably go in this format
class = "rounded shadow p-2 bg-white w-34 h-24"
// Rounded - To give the card rounded borders
// p-2 - To give padding
// bg-white - To give a background color of white
// shadow - To give the card a shadow
// And other utility functions to customize your content
Why use TailwindCSS?
Faster CSS Styling💨
When it comes to styling HTML there is no faster framework than Tailwind as a result, you can easily create good-looking designs and layouts by styling elements directly. This is possible because of Tailwind's built-in classes. Therefore, you don't have to write your CSS rules yourself. These CSS classes are the main reason why building and styling with Tailwind are so fast.Styling control🕹️
TailwindCSS doesn't define the way your component looks. You define each component/layer by combining different utility classes together. For example, you can give different sections/div a different look, tailwind is one of those frameworks that isn't opinionated on how you should style your project.
Since it is a utility class-based framework you can build your custom designs without writing CSS the traditional approach.. you know the old ways of doing things ( just joking 😅)
.body{
       background-color: white;
       padding: 0px;
       margin: 0px;
}
Beginner Friendly
Prerequisites
- Basic knowledge of HTML & CSS 🧱
- Zeal to make your Frontend more appealing to the eyes 👀
Installation, Configuration, and Usage 🛠️
Let's look at the two most used methods of installing Tailwindcss. TailwindCLI & PlayCDN
1. Tailwind CLI
To Install tailwind and create tailwind.config.js file we have to make use of npm(Node Package Manager) so if you don't have npm installed you can download it here
// Initialize npm
npm init -y

// In your terminal
npm install tailwindcss
Once that is installed let's also run
npx install tailwindcss init --full
What this will do is to generate a Tailwind config file for your project using the Tailwind CLI utility in your root directory. Why❓ because by default, Tailwind will look for an optional tailwind.config.js file at the root of your project where you can define any customizations.
# tailwindcss.config.js
# You should see something like this in your config file... but it should be more than 900lines 😅

module.exports = {
  content: ['./src/**/*.{html,js}'],
  theme: {
    colors: {
      'blue': '#1fb6ff',
      'purple': '#7e5bef',
      'pink': '#ff49db',
      'orange': '#ff7849',
      'green': '#13ce66',
      'yellow': '#ffc82c',
      'gray-dark': '#273444',
      'gray': '#8492a6',
      'gray-light': '#d3dce6',
    },
    fontFamily: {
      sans: ['Graphik', 'sans-serif'],
      serif: ['Merriweather', 'serif'],
    },
    extend: {
      spacing: {
        '8xl': '96rem',
        '9xl': '128rem',
      },
      borderRadius: {
        '4xl': '2rem',
      }
    }
  },
}
Editor Setup 💣💥
If you use vscode as your preferred IDE you can simply install the extension "Tailwind CSS IntelliSense" it provides Vscode users with advanced features such as autocomplete, syntax highlighting, and lining.
Moving on in your directory create a folder called src and inside that folder create a file .css. in my case, it would be style.css and my directory will look something like this
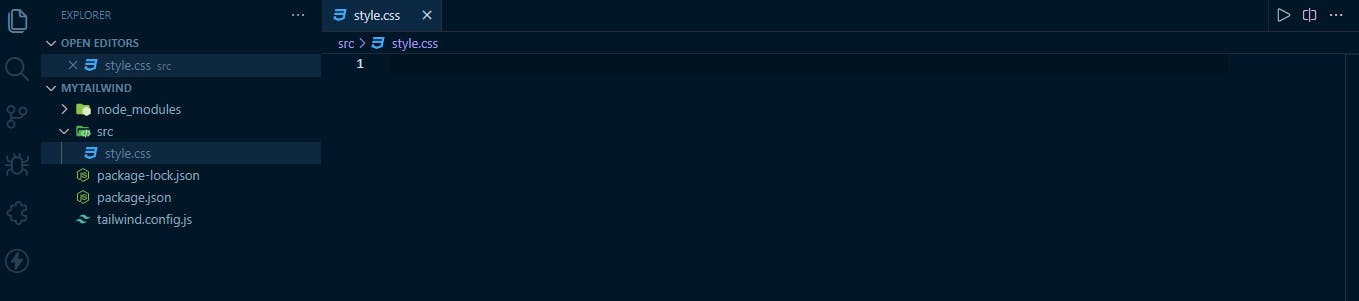
in your style.css I want you to add
@tailwind base;
@tailwind components;
@tailwind utilities;
These are tailwind directives and are important layers to your main.css. let me explain better how tailwind uses these directives, In other to use tailwind in your HTML files, tailwind will use the directive in your src folder and convert that to a stylesheet format we can use inside our file
// Something like this

style.css [in src ] ➡️ Tailwind [works its magic] ➡️ main.css [a stylesheet we can use/link to] ➡️ index.html
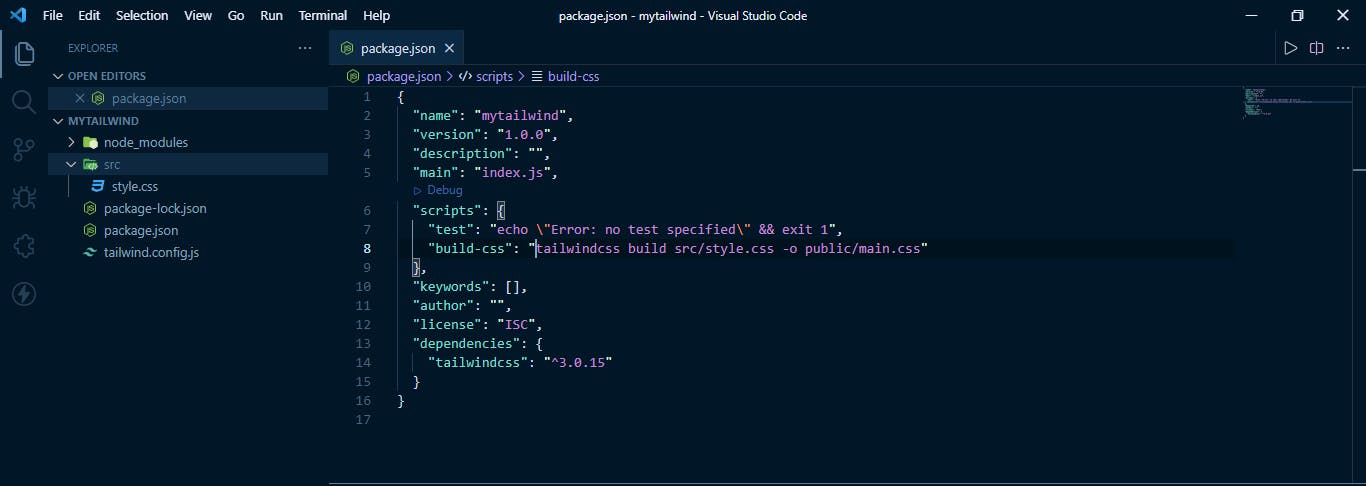
One more step and we are all set to use Tailwind in our project, and that is to build our main.css as illustrated above, so we can do that easily in our package.json file and add this in the script section of the file
"scripts": {
      "build-css": "tailwindcss build src/styles.css -o public/main.css"
}
What the script is insinuating is tailwind should go into the src folder where we have our style.css file do its magic and produce an output that would be stored in a file main.css created in a public folder.
You should have something similar to this in your package.JSON file. it is good to note that it is not compulsory to use "build-css" you can use any variable name of your choice I used that naming convention because we would be literally building another CSS file
// Once that is done run the snippet below

npm run build-css
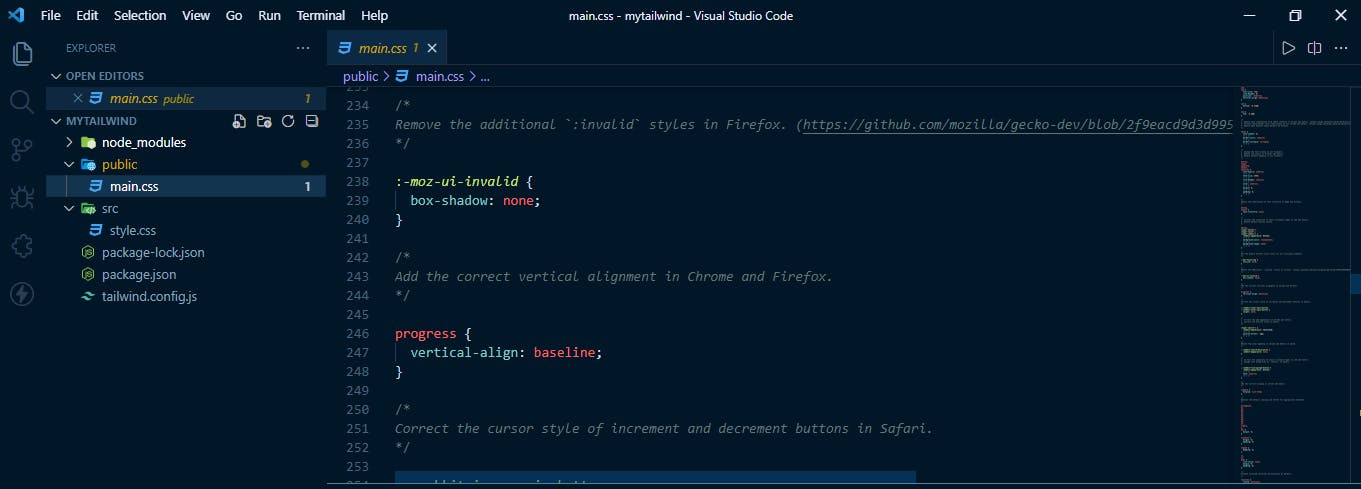
Once you run the snippet you will notice a main.css file inside a public folder created by tailwind
Let's create an index.html file in our src folder and link the main stylesheet
// index.html

<!doctype html>
<html>
    <head>
        <meta charset="UTF-8">
        <meta name="viewport" content="width=device-width, initial-scale=1.0">
        <link href="/public/main.css" rel="stylesheet">
    </head>
    <body>
        <h1 class="flex justify-center text-3xl font-bold underline">
            Hello, world!
        </h1>
    </body>

</html>
You should get something similar to this when you run your index.html

2. Tailwind CDN
This process is somewhat simple, all you need to do is input the tailwind CDN script tag inside the head tag in your index.html and run tailwind right in the browser without any build step.
// index.html

<!doctype html>
<html>
    <head>
        <meta charset="UTF-8">
        <meta name="viewport" content="width=device-width, initial-scale=1.0">
        <script src="https://cdn.tailwindcss.com"></script>
    </head>
    <body>
        <h1 class="flex justify-center text-3xl font-bold underline">
            Hello, world!
        </h1>
    </body>

</html>

The output should be the same as the CLI version above, you should know the CDN is designed for development purposes (wink 😂)
Tailwind Utilities
These are one of my personal favorite utilities I find myself using in most of my projects there are loads more utility to use and can find more information on them on Tailwind official doc
- flex = display: flex.
- justify-center = justify-content: center.
- mt-10 = margin-top: 2.5rem
px-10 = { padding-left: 2.5rem/ 40px /; padding-right: 2.5rem/ 40px /; }
items-center = align-items: center
- text-xl = font-size: 1.25rem
- md:text-xl = md means medium size.
- font-mono = font-family: ui-monospace, SFMono-Regular, Menlo, Monaco, Consolas, "Liberation Mono", "Courier New", monospace;
- hover:bg-red-600 = applies a background color of red
- hover:text-white = applies a color of white on hover
- underline = text-decoration: underline
- font-bold= font-weight: bold
Wrapping Up
TailwindCSS does not define the way your component looks. You define that by combining several classes together to give you your desired result.
in the next article we would build a login form with Tailwind, so do well to follow me to be notified when it is posted.